A lot is made of the necessity of
restricting evening photography to the golden hour – the time around dusk when
the tonality of the sky matches that of the land but it is very rewarding to
photograph after night has come. It takes around two hours for the sky to be
completely dark and anywhere near civilisation there will be some spillage of
artificial lights even at the darkest time.
Preliminaries
·
Always plan your location beforehand by visiting in the day,
choosing a pleasing composition and determining the positions of the moon and
possible bright lights. Also check on hazards.
- Set Manual
Exposure and Manual Focus and familiarise yourself with your camera controls in daylight so you can use
them in the dark.
- Mark the
infinity setting for your lens so you can set this in the dark
- Use
a wide angle lens and include some foreground as well as sky
- Shoot
RAW
- Use the camera on Live View to eliminate mirror shake and use a remote release if possible or timer if not.
What not to do
·
Do not use long focal
length lenses – difficult to avoid camera shake and star trails
·
Do not include the moon or floodlit buildings in your image – the
contrast range will be too great to capture and you will get flare spots from
these light sources
What to do
A. If your scene includes artificial lights
- Use a small aperture (f16-f22 so that any light source is rendered as a star burst
- Use
Manual Exposure mode. If you need more than
30 secs then set camera to the 'Bulb' (B) mode.
- Use Manual focusing - usually possible to focus on lit areas of the scene
- Adjust your camera's ISO setting remembering that increasing the ISO setting increases the noise.
- You may like to take two exposures – one for the lit area and one for the darker areas and then combine these in Photoshop.
- Focus setting the lens to the infinity mark
- As
a starting point try 30 seconds at f8 and ISO 800 or an equivalent
combination .
- If
there are lights in your composition, you may like to take two exposures –
one for the lit area and one for the darker areas and then combine these
in Photoshop.
Lighting the foreground
- Using a torch or flash gun can be successful
Advanced
- Find
the ‘sweet spot’ (sharpest focus) range of apertures for your lenses to
maximise sharpness. This is usually between f/8 and f/16.
- 600 rule to avoid movement of the stars. Divide 600 by the
focal length of the lens times the crop factor. So full frame camera with
24mm lens gives 25secs as maximum exposure before star trails evident; 1.6
crop factor camera 600 divided by (16x1.6) = 23.4secs. You will find you
can get away with slightly longer exposure times before movement of stars
is evident.
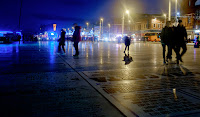
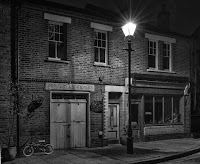
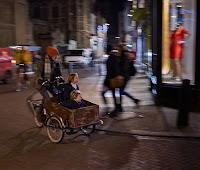
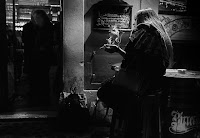
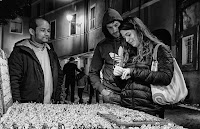
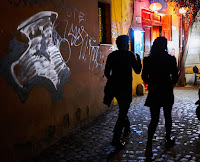
Ken went on a dusk-to-dawn photoshoot in London arranged by Doug Chinnery and brought as some preliminary shots from the night
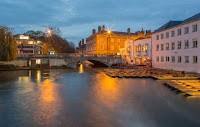
Mark's images were from Rome and nearer home!
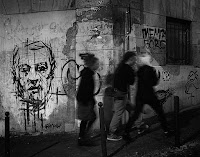
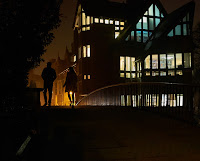
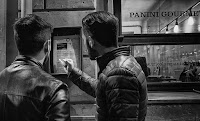
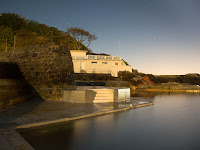
Paul Sanwell's showed us his attempts at a supermoon, the second being a composite to give some foreground interest. Light painting from Wednesday workshop. More images in the November Gallery


