Look at the March Gallery for images from our night painting evening, some street photography and other images contributed to the evening.)
We started the evening with discussion of the best settings for the camera to capture the best in low-light conditions.
How you set the aperture, ISO and shutterspeed depend on the amount and the source of the light, and the effect you are hoping to achieve.
Articial Lights in the Scene
1. If there are artificial lights in the scene then use the smallest aperture that you can to get star bursts from the lights and to avoid flare. The aperture in the first image is f 8 and shows unattractive burnt out lights and flare. In the next three images aperture is set to f22


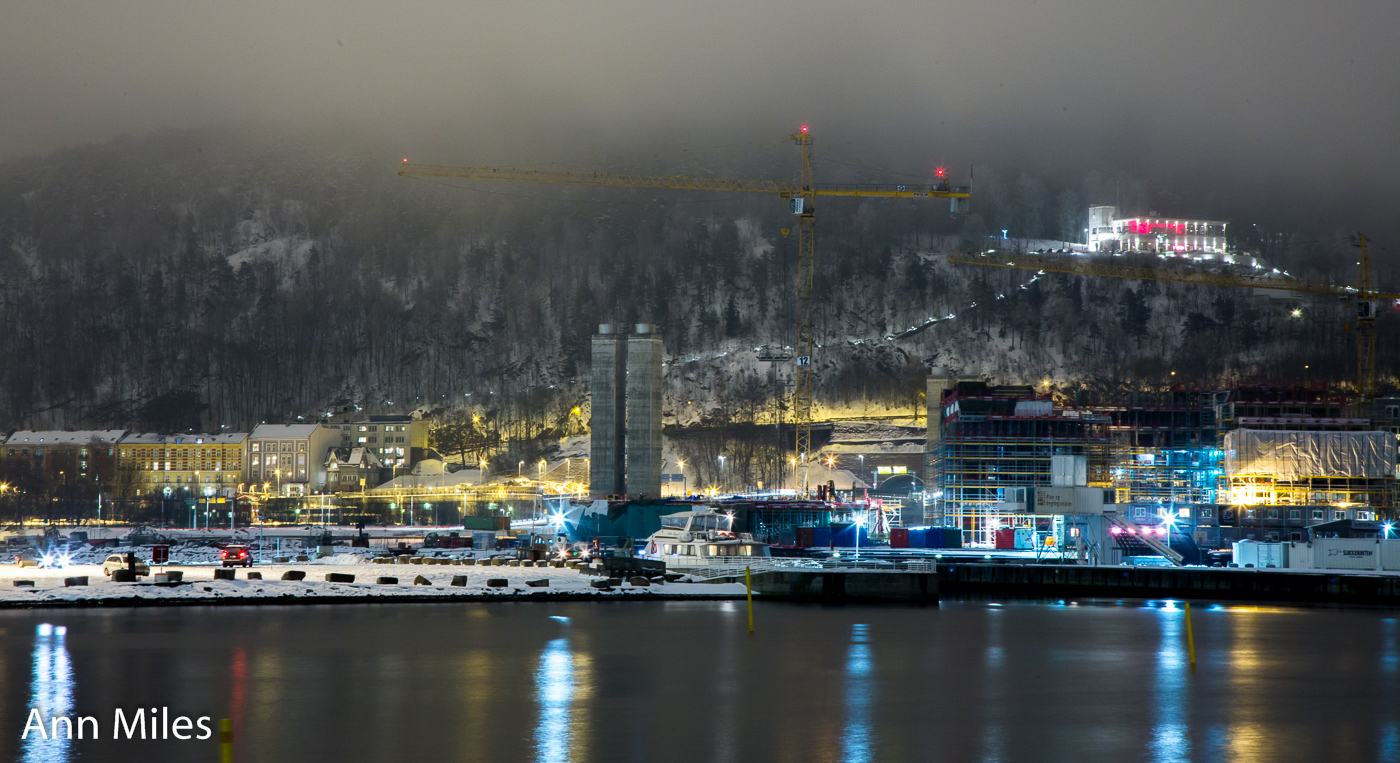
2. Choose overcast night for the best results - the sky will reflect some light and avoid the black


3. Wet conditions give great reflections. These images were handheld at midnight with lots of ligh spillage

4. Experiment with different shutter lengths especially with moving traffic


Full night conditions with little artificial light - shooting 2 hours or more after sunset
1. This requires long exposures, wide apertures and higher ISO. As a starting point try 30 secs at f8 and ISO 800 or an equivalent combination.


2. Try still nights for starry skies or have a go at star trails


3. The images may require pulling up further in your raw converter to get a bit more light in the scene


Some tips for night photography
1. Bring a torch to see controls
2. Familiarize yourself with how your camera works in daylight so you can work in the dark.
3. Know how to select Shutter-Priority, or full Manual mode to get exposures up to 30 secs and Bulb for even longer exposures.
4. Tripod - essential but if you are out without one then rest your camera on a support (bridge, rubbish bin etc).
5. Self-Timer & Remote Controller If your camera has a remote control, use it in conjunction with your tripod to further eliminate camera shake. Otherwise use self-timer. Make sure you know how to use these in advance.
6. Adjust your camera's ISO setting The higher the ISO number, the more sensitive the camera is to light. However, increasing the ISO setting increases the "noise" or "digital artifacts".
7. Bracket your shots - take several at different exposures. Most digital cameras have a bracketing mode that automatically adjusts the exposure level so you can take 3 to 5 shots in row to bracket a picture.
8. Using the camera on Live View will eliminate mirror shake
9. Most digital compact cameras have a "Night Scene Mode". – turn off the flash or special high sensitivity settings. This one was taken with Superior Auto on Sony RX100


